If you have experienced installing Drupal 8 then installing Drupal 9 should be easy for you. However, we will take into consideration those who are new to Drupal so I will use simple terms to be easily understood by all. This tutorial will also be focused on a local installation of Drupal for development purposes on mac and windows.
Prerequisites
Before you can run drupal 9 on your local computer, you need to have the following
- Apache, Nginx or IIS
- PHP (at least version 7.3 or higher for better compatibility)
- MySQL or Percona (version 5.7.8 same reason as above)
If you think the above list is a pain to gather, then you should be thankful because there are free software that have all of the above and some have more. But for this tutorial we will be using two of our favorite xAMP stacks, the Acquia Dev Desktop and XAMPP.
Installing these two requires a tutorial on their own but you can go to these links for guidance.
- Acquia Dev Desktop https://docs.acquia.com/dev-desktop/install/#guided-installation
- XAMPP
- Download : https://www.apachefriends.org/download.html
- Instructions : https://www.wikihow.com/Install-XAMPP-for-Windows
Installing Drupal 9 using Acquia Dev Desktop
Once you’re done installing acquia dev desktop (ADD), you are now ready to install Drupal 9. Just follow the next simple steps to install and run your local Drupal 9.
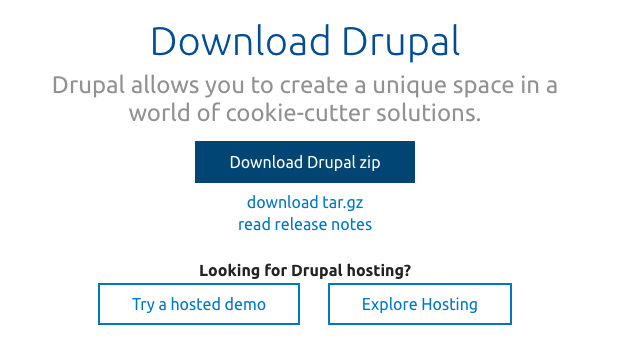
Download
Off course you have to download Drupal first before installing. You can get the latest version from this link : https://www.drupal.org/download
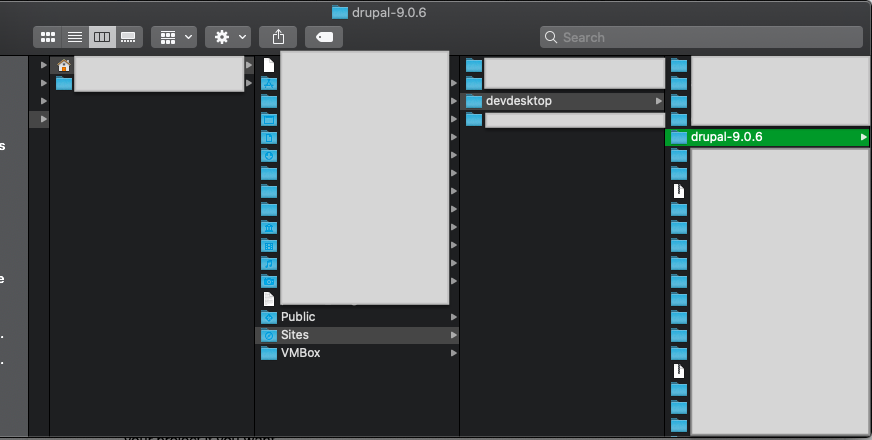
Extract
After downloading Drupal, extract the files to your preferred folder. In this example we will extract it inside the Local User’s folder => Sites => devdesktop. You can rename the folder to your project if you want.
Setup
Launch your acquia dev desktop software and follow the steps below
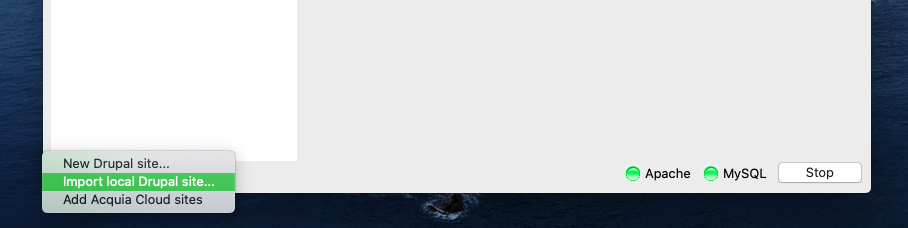
- Click the [ + ] button located at the lower left portion of the acquia dev desktop window
- Select the “Import local Drupal site…”
- Click the “Change...” button and browse to the directory where you extracted the Drupal 9 Core files
- The settings will be populated and we will just use the default settings

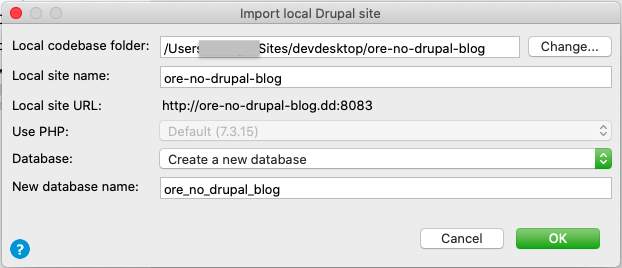
- Click “OK” button and that’s it for the acquia dev desktop setup
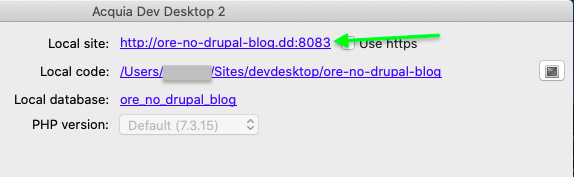
- Launch the site by clicking the local site link
- This will open a new browser session
Configure
Once your local site opens up in your browser session, you can now start configuring the site.
- Select your language

- On the next screen we will select “Standard” for our example but you are free to choose for your own purpose.
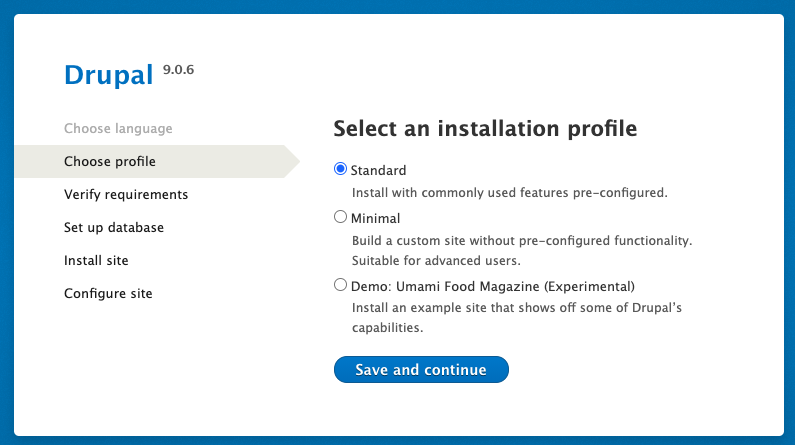
- Click “Save and continue” and the Drupal 9 installation will continue
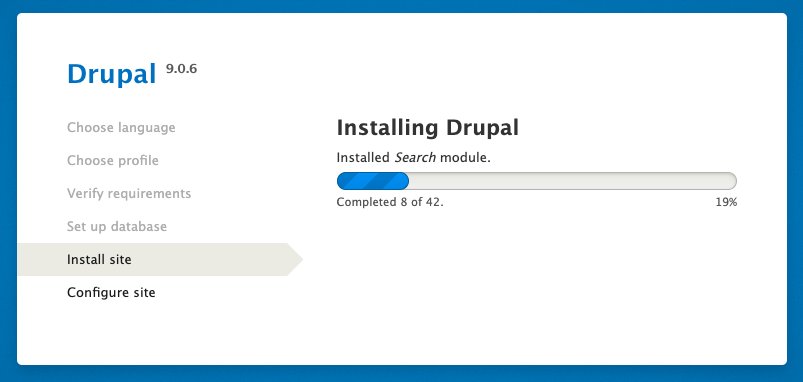
- You will see the below and all you need to do is wait for the next window
- Fill out the site details and click “Save and continue”

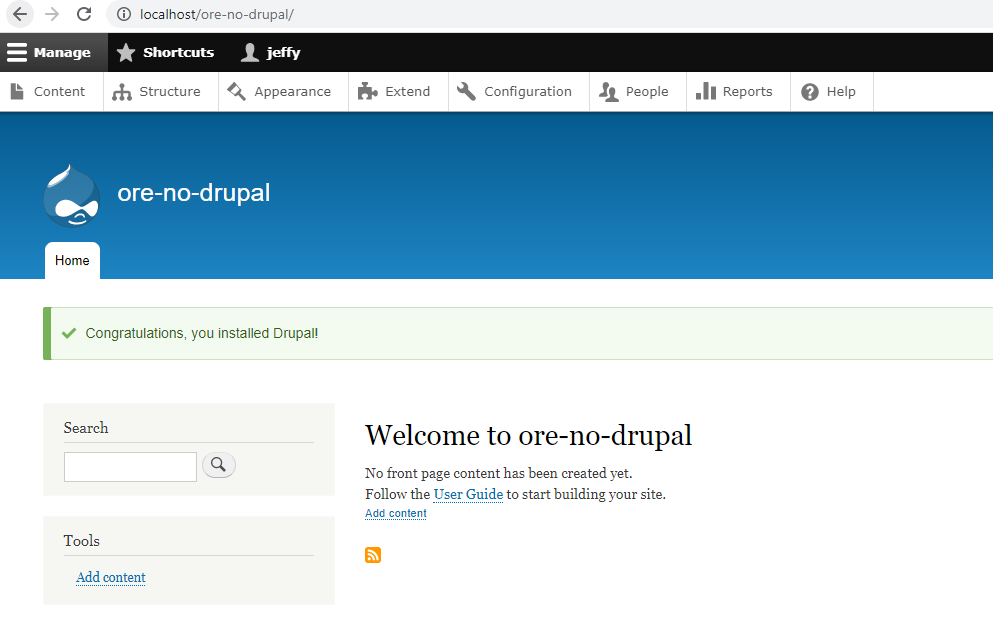
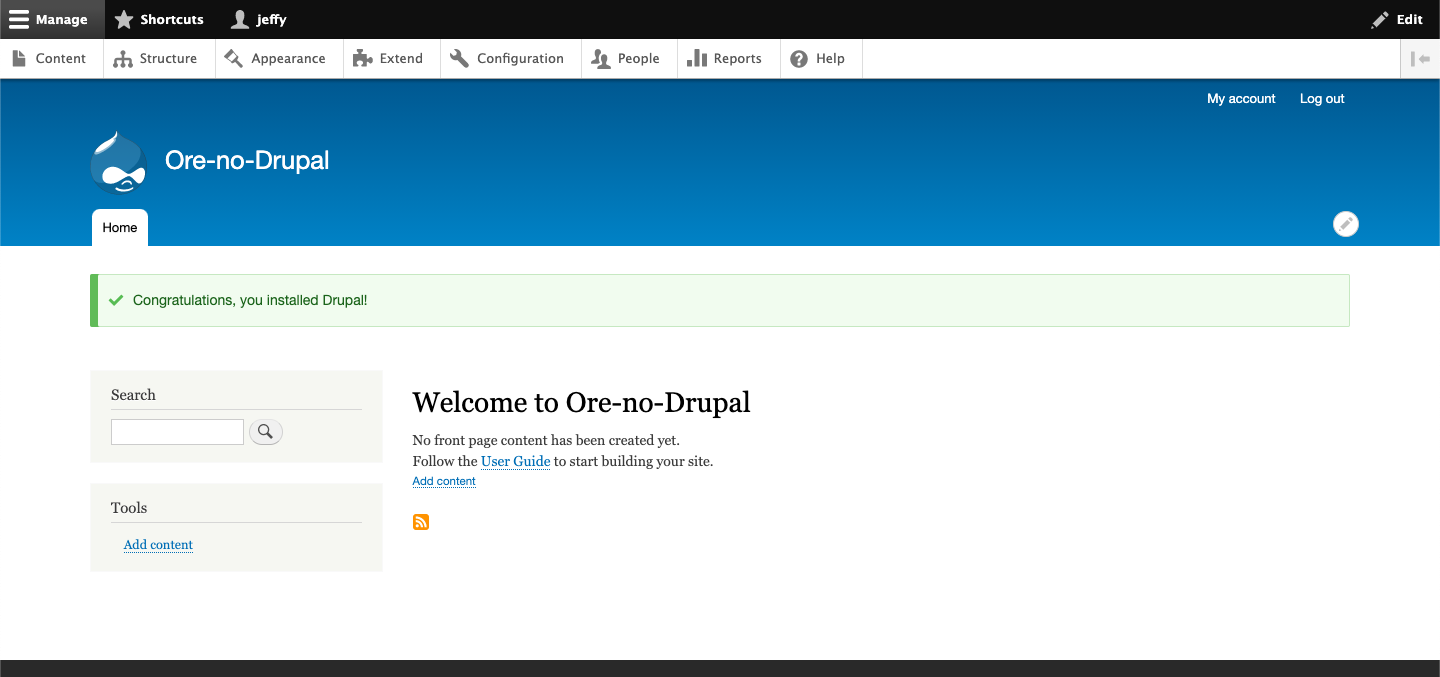
- Your Drupal 9 installation is complete when you see the below window.
Installing Drupal 9 using XAMPP
Installing Drupal 9 using XAMPP on windows is almost the same process as installing it using Acquia Dev Desktop. The only difference is that you will need to configure a few other things for the process to proceed.
Creating a database in phpmyadmin
- Launch your xampp application
- Start Apache and MySQL
- Click “Admin” and your default browser should open to the locahost/phpmyadmin
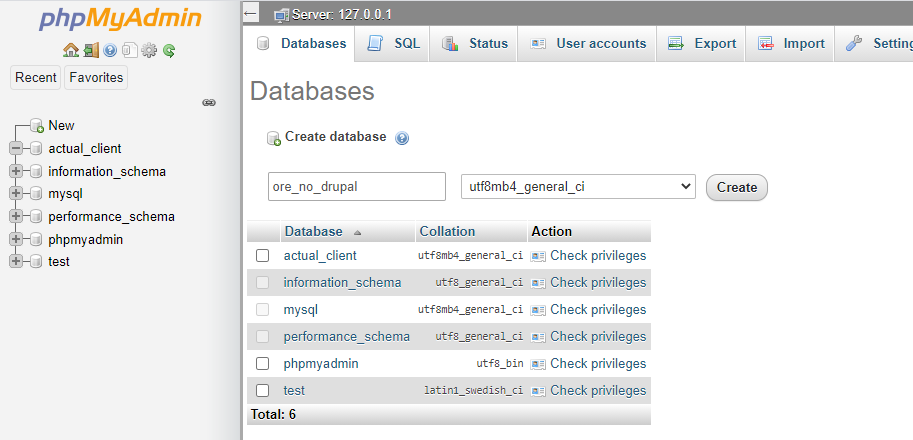
- In the phpmyadmin dashboard, click “New” on the left pane to create a new database
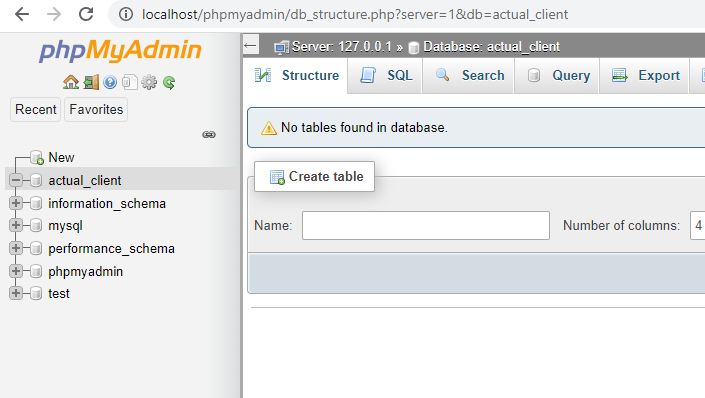
- Then type-in the database name of your choice
- Click “Create” and we’re all set
- (Optional) if you want to add a database password you can do so but is totally not required
Extract
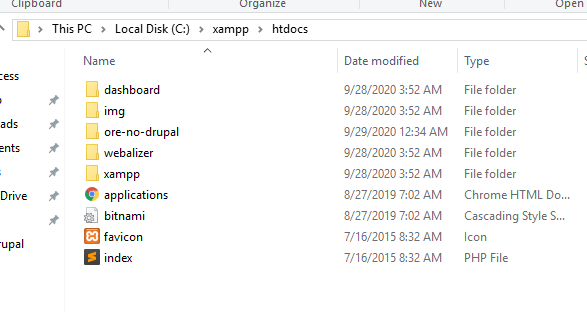
- Extract the Drupal 9 files to your xampp htdocs directory
- In our case the path is C:\xampp\htdocs\ore-no-drupal
- Remember the directory name of your extracted Drupal 9 application because you will use that for the next step
Configure Drupal
- To configure drupal, you need to open your favorite browser and type-in localhost/(your_drupal_directory_name)
- Once there you can proceed with the same steps as above
- Depending on your installation, you may hit a warning about opcache

- This part is optional but it’s good to have
- If you would like to proceed, just scroll down to the bottom and select “continue anyway”
- But if you want to enable it open your xampp control panel and click “Config” on Apache
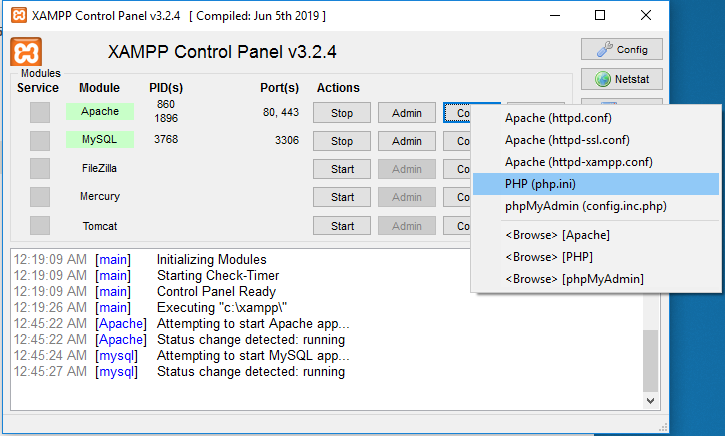
- Select “PHP (php.ini)” and open it with your preferred text editor
- Just follow the steps described here and you should be good to go: https://www.drupal.org/forum/support/post-installation/2016-03-03/drupal-8-opcache-warning-php-opcode-caching-not-enabled
- Restart Apache by clicking “Stop” and “Start” under actions in your xampp control panel
- On the Drupal 9 configuration browser session, click “retry”.
- Once that is done you will be asked for the database information from the previous steps
- Wait for the process to complete and that’s it! Congratulations on your new Drupal 9 installation